
One of the areas where we especially looked to save money was with a florist. I met with a great woman back in February, and after two hours of looking through florist books, magazines, and talking over ideas we planned the whole wedding and my heart about stopped at the price tag. Half-dozen rose bouquets for my bridesmaids were going to be $40 each! My bouquet was nearly $200! Daniel's boutonniere was $20!
That was not going to happen no matter how beautiful the flowers were, and how convenient it was to have someone make them for me.
So I googled how-to's and bought a dozen roses (not in wedding colors) to practice. Now, for less than the price of my florist's bouquet we'll have beautiful bouquets, boutonnieres, corsages, and table centerpieces.

First step: lay each rose out and pull off all extra leaves. Cut off throrns. Trim to desired length.

Carefully selecting each rose, gather three at a time into a triangle. Wrap with florist tape to hold in place. Gather another 3 roses and create another triangle opposite to the first. Wrap again with florist tape. Continue as many times as desired.
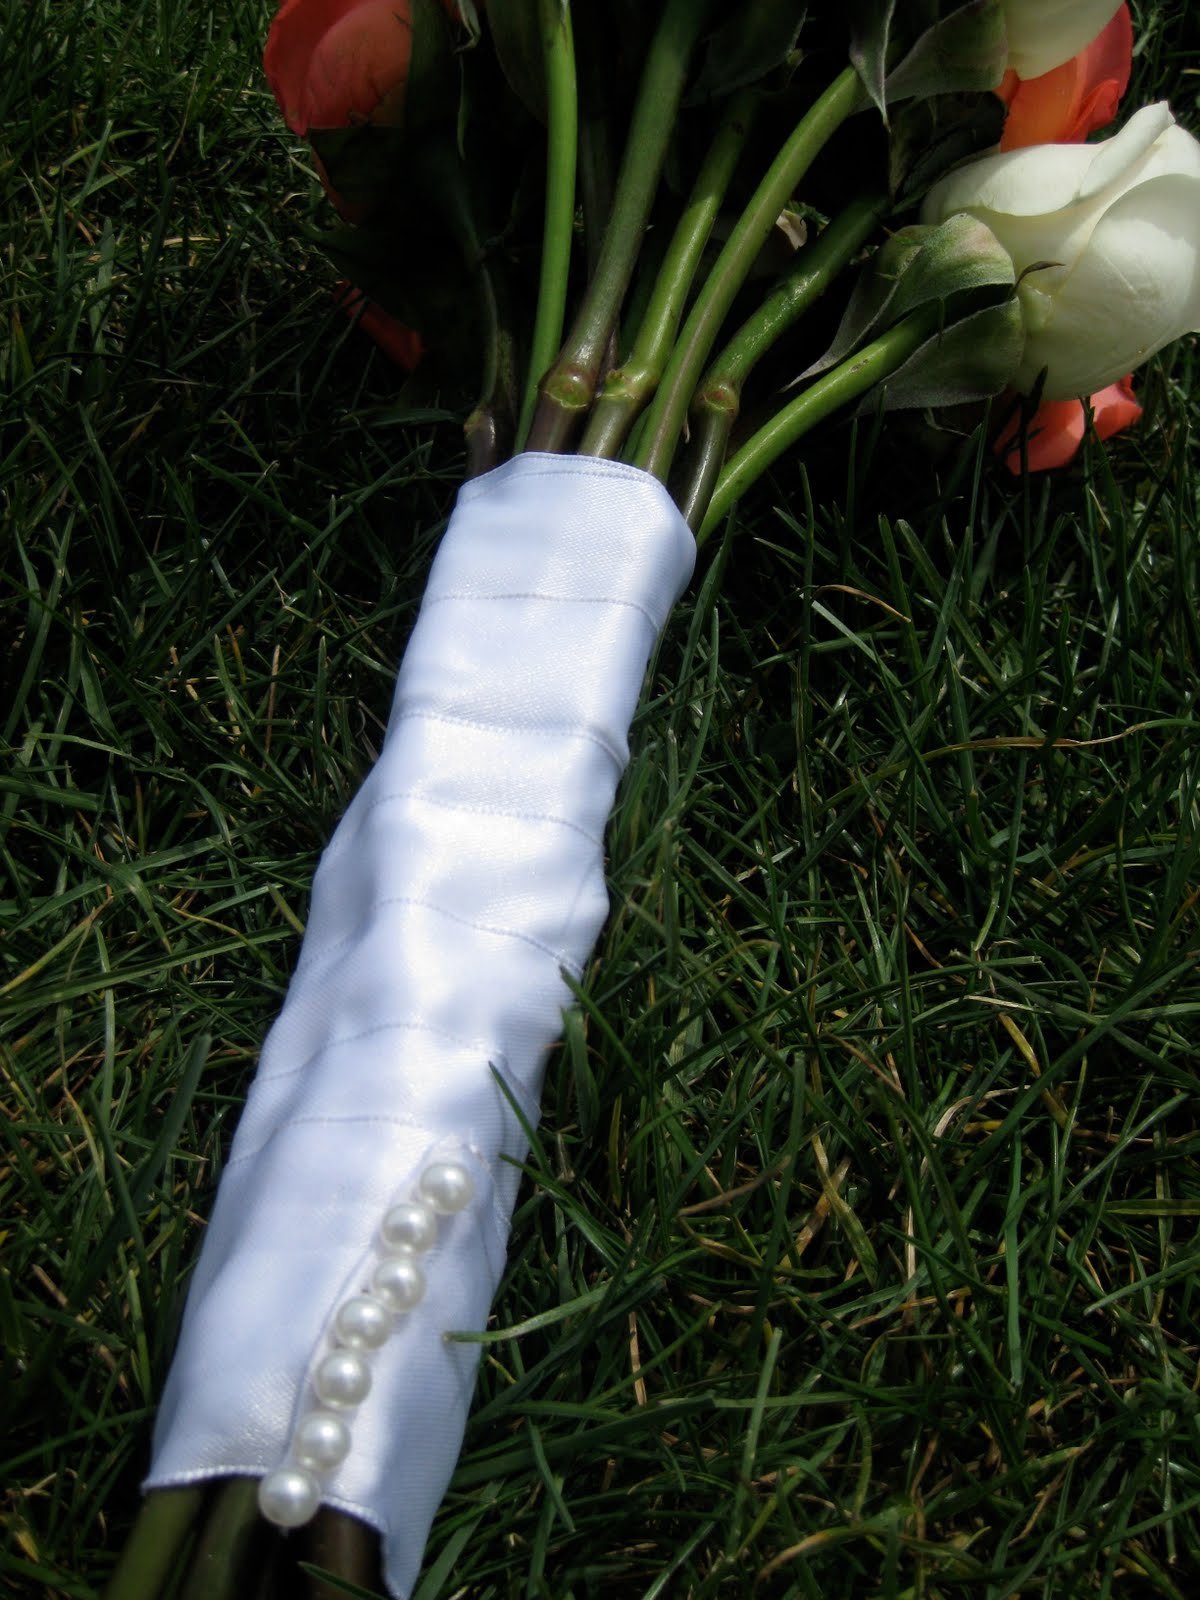
Wrap in satin ribbon, beginning at the top and wrapping to the bottom. Secure with pins. I chose to use pearl-headed pins in a line across the tip of the ribbon.

The finished bouquet made me incredibly happy. The roses were so fresh, and perfectly open.

Of course my little poppet had to model the bouquet for me. A dozen roses makes a good sized bouquet. I'll be using half a dozen with short stems for each of my bridesmaids to create a simple, sweeter look.

TA-DA!!
No comments:
Post a Comment